> ## Documentation Index
> Fetch the complete documentation index at: https://docs.totebot.ai/llms.txt
> Use this file to discover all available pages before exploring further.
# WooCommerce Integration
> Connect Totebot to your WooCommerce store
The WooCommerce integration connects your WooCommerce store with Totebot. Your AI agent gets access to your product catalog, can recommend products with live prices and availability, add items to the customer's cart, and attributes orders back to the conversations that drove them.
To access this integration, navigate to **Integrations** → **WooCommerce** in your dashboard.
WooCommerce is available on every plan, including the free plan.
## Step 1: Connect your store
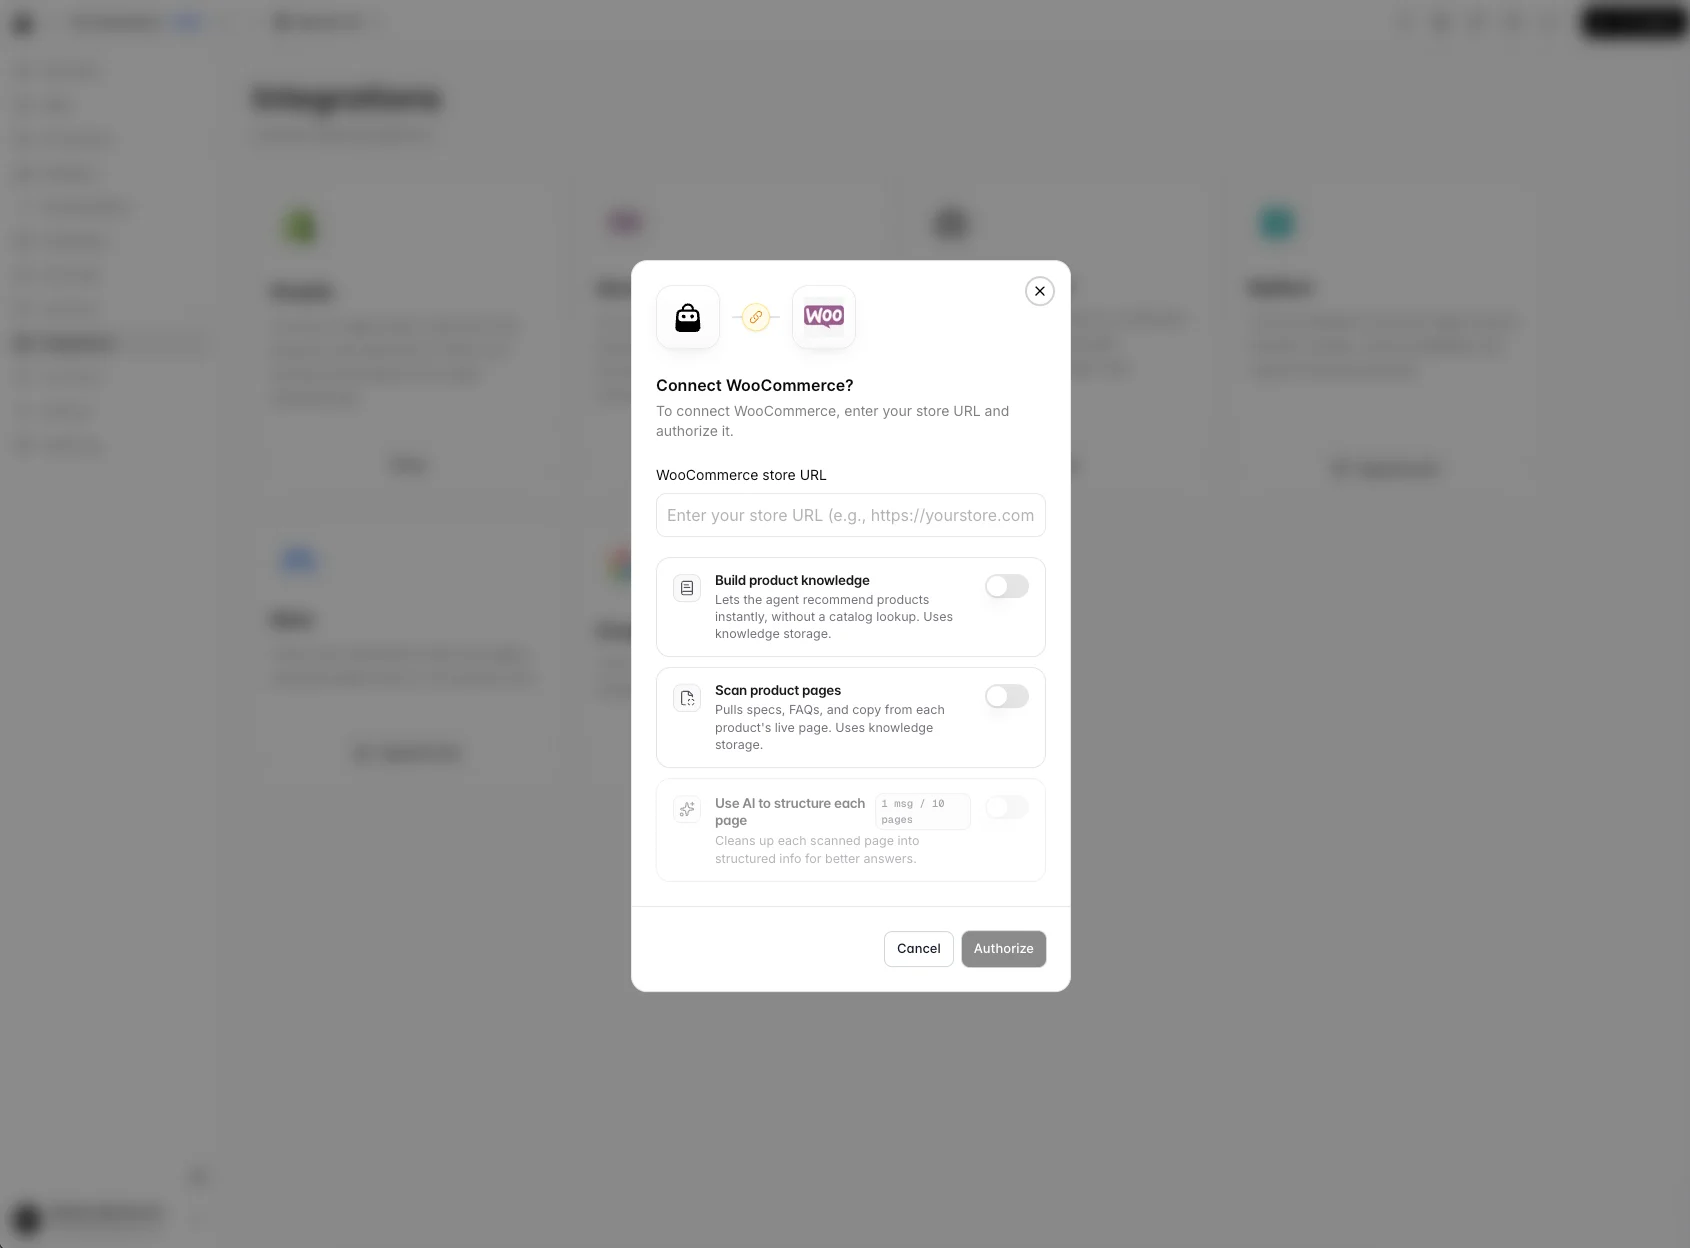
Click **Connect** on the WooCommerce integration, enter your store's URL, and click **Authorize**.
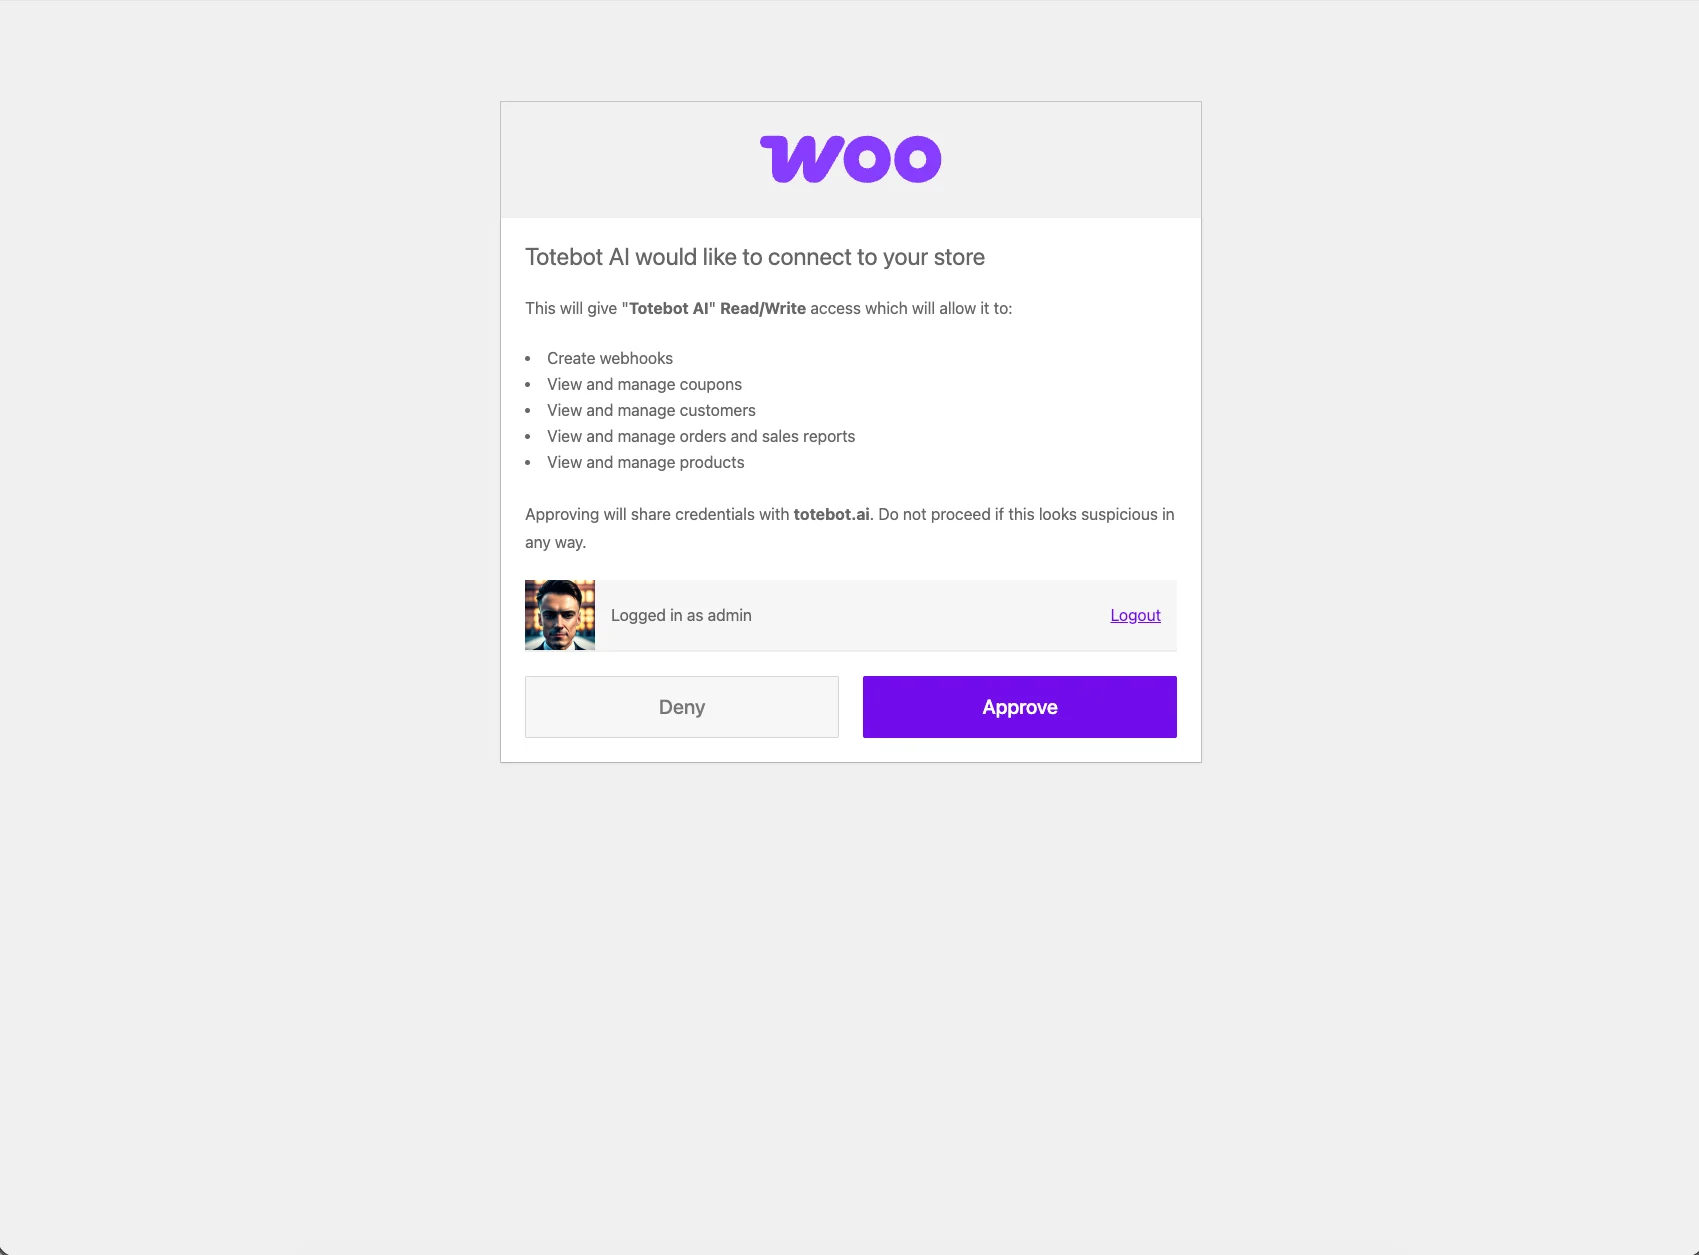
 You'll be redirected to your WooCommerce store to approve the connection. Log in to your WordPress admin if prompted, review the access, and click **Approve**.
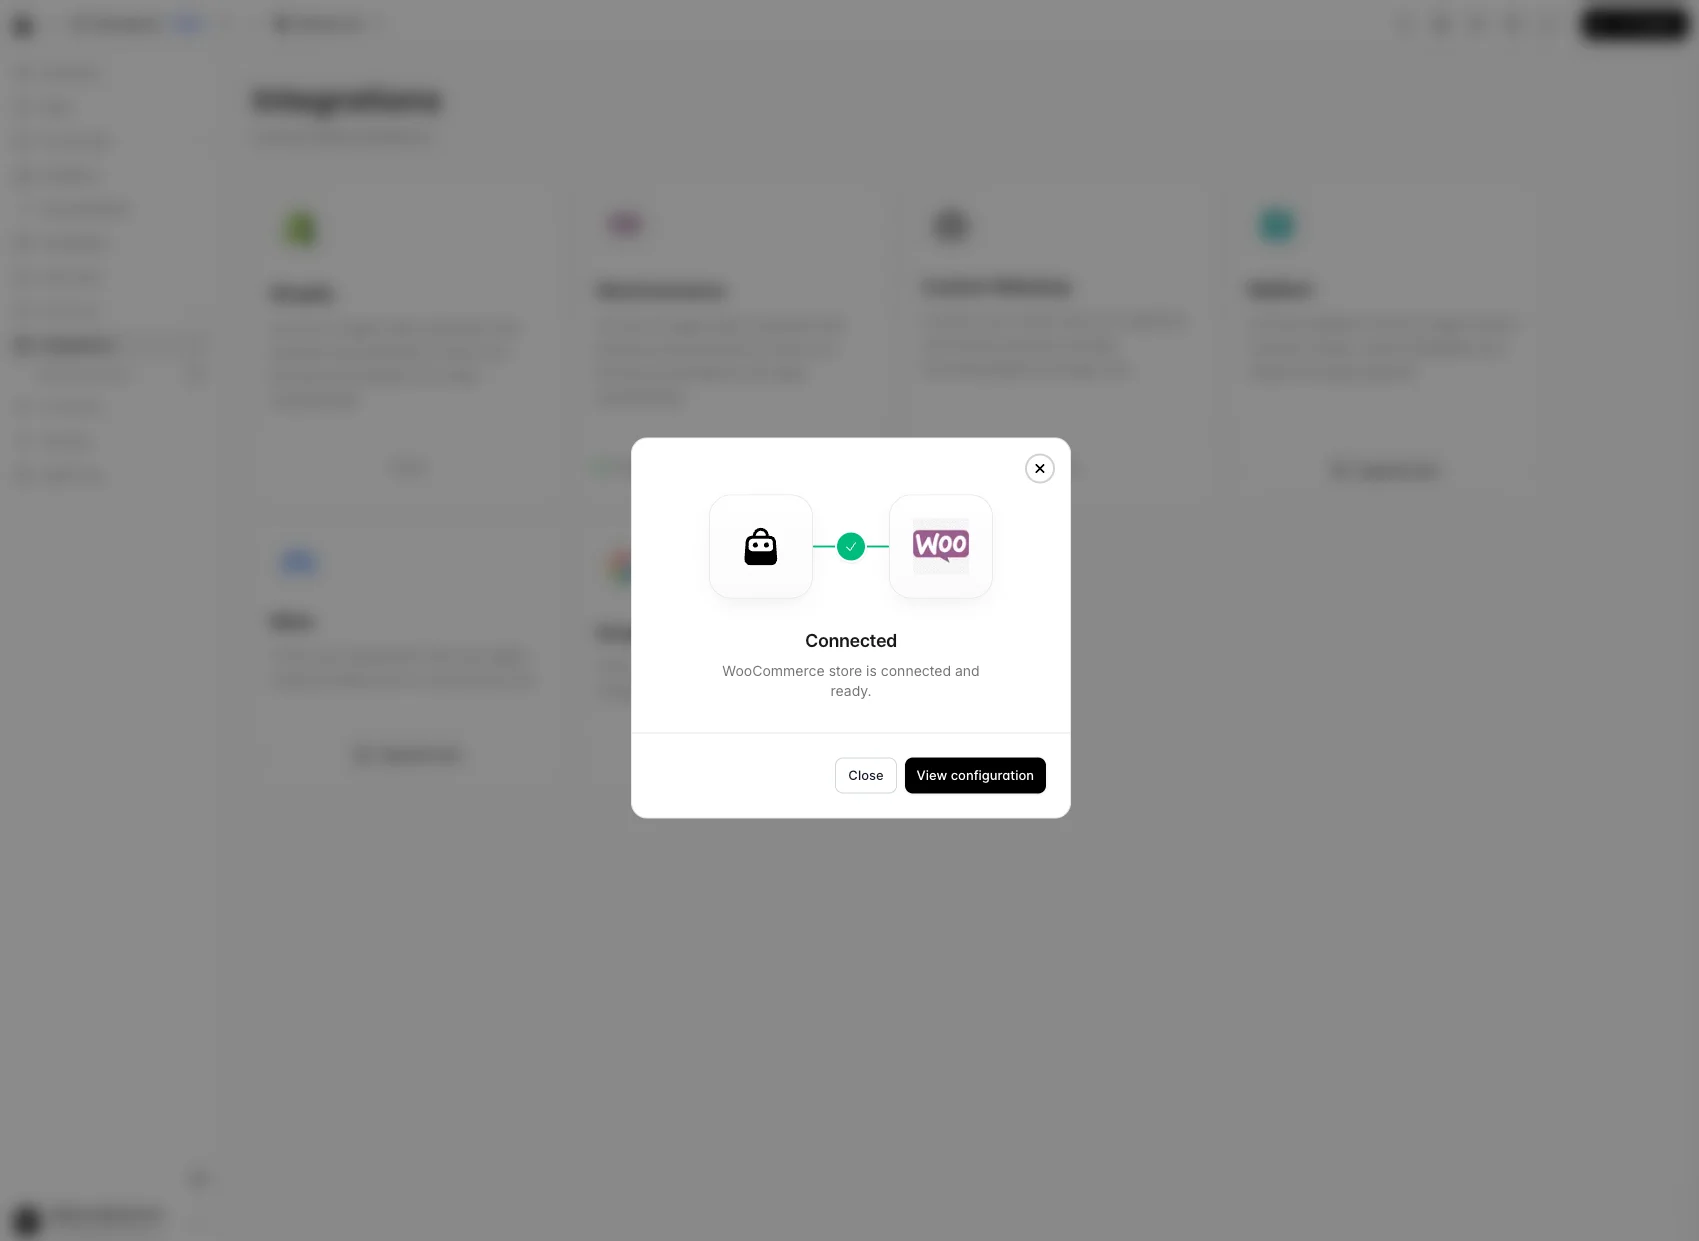
 After approval you're redirected back to Totebot. Your product catalog starts syncing automatically, and webhooks keep it up to date when you add, change, or remove products.
 ## Step 2: Install the chat widget plugin
The plugin adds the Totebot chat widget to your storefront. Everything you need lives on the WooCommerce integration page: the **Download Plugin** button, the step-by-step, and your **Agent ID**.
## Step 2: Install the chat widget plugin
The plugin adds the Totebot chat widget to your storefront. Everything you need lives on the WooCommerce integration page: the **Download Plugin** button, the step-by-step, and your **Agent ID**.
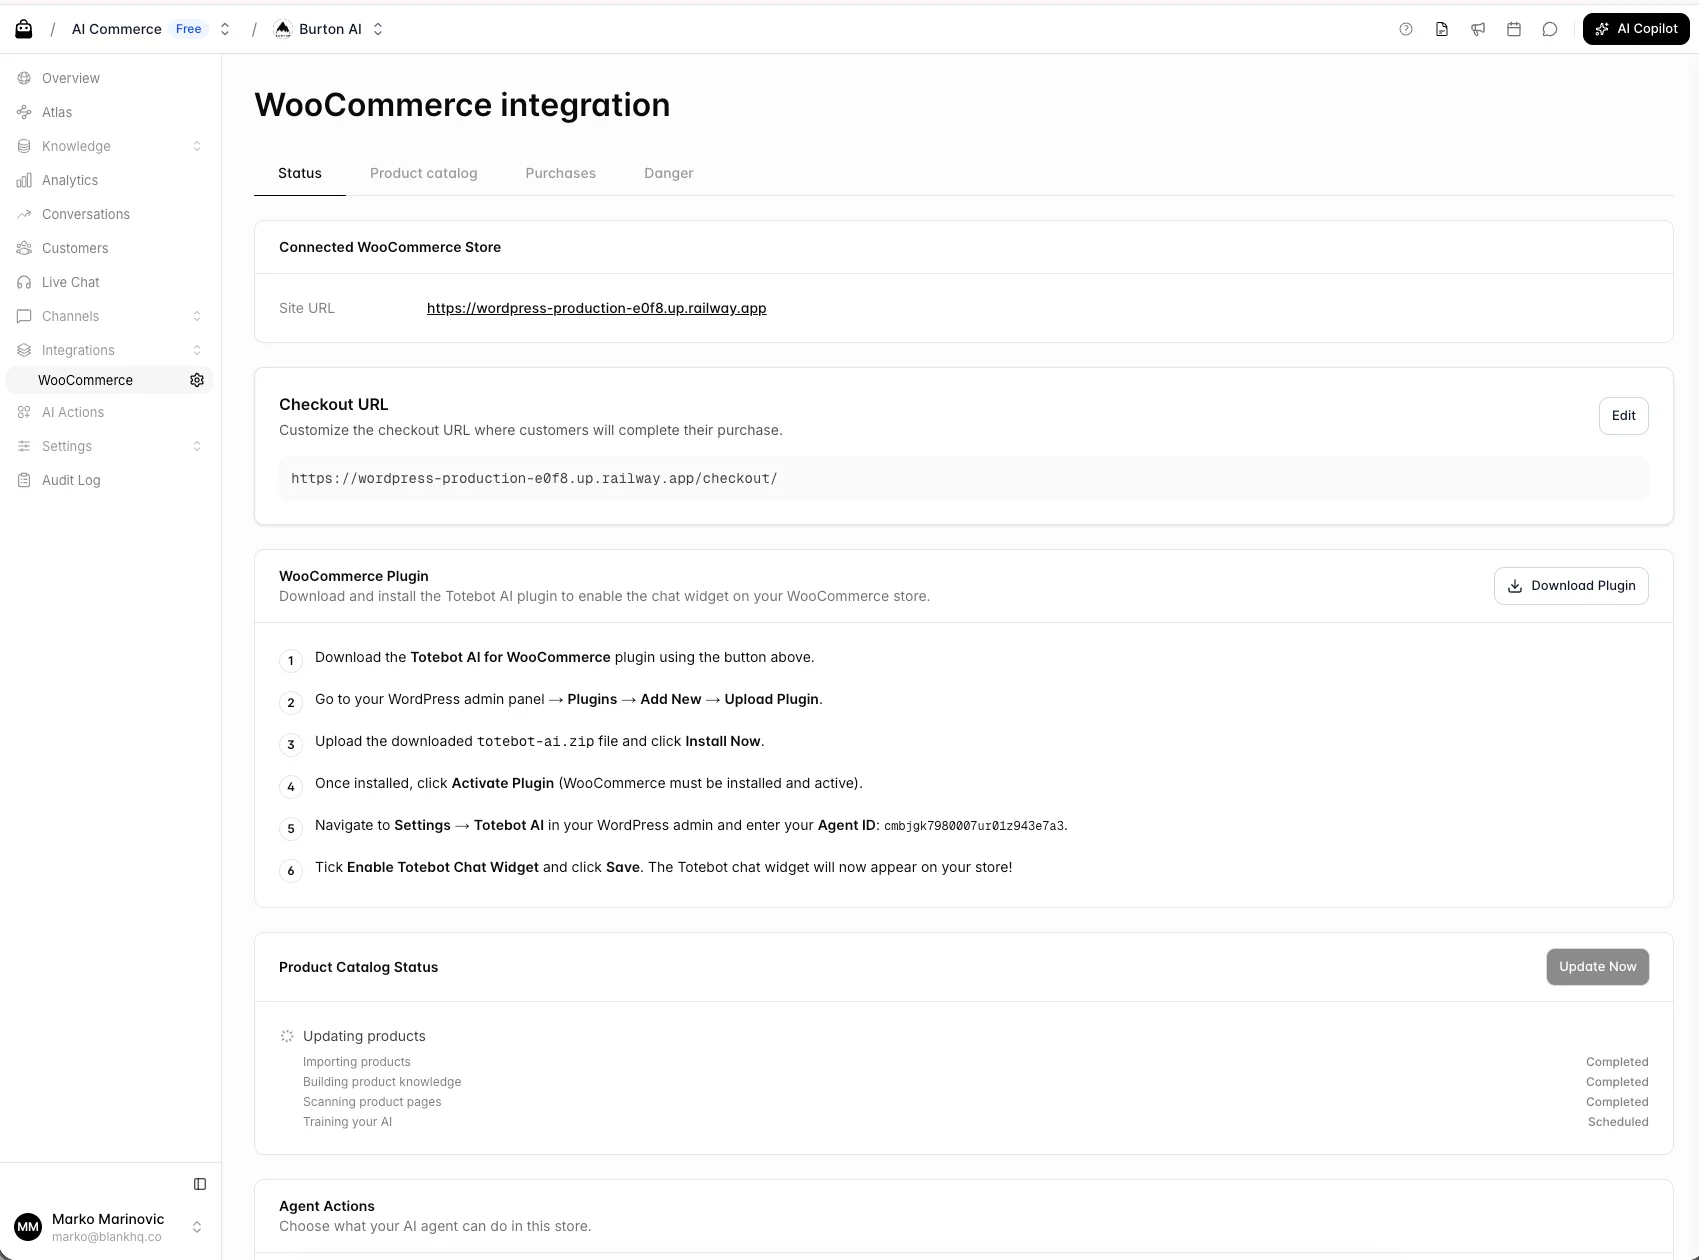 On the WooCommerce integration page, click **Download Plugin** to get **Totebot AI for WooCommerce** (`totebot-ai-for-woocommerce.zip`).
In your WordPress admin panel, go to **Plugins** → **Add New** → **Upload Plugin**, choose `totebot-ai-for-woocommerce.zip`, and click **Install Now**.
Click **Activate Plugin**. WooCommerce must be installed and active on your site.
Go to **Settings** → **Totebot AI** in your WordPress admin and enter your **Agent ID**. You'll find it on the WooCommerce integration page in your Totebot dashboard.
Tick **Enable Totebot Chat Widget** and click **Save**. The chat widget now appears on your store.
## What the agent can do
* **Search and recommend products** from your synced catalog, with prices, images, and availability.
* **Show product cards in chat** so customers can view details and jump to the product page.
* **Add products to the cart** directly from the conversation, so customers can keep shopping and check out without leaving the chat.
* **Look up orders** when you enable the order lookup tool on the integration page.
* **Attribute purchases** to conversations, so Analytics shows the revenue your agent generated.
## Product catalog
The **Product catalog** tab on the integration page lists every synced product. You can check sync status, trigger a re-sync, and open each product to see exactly what data the agent works with.
On the WooCommerce integration page, click **Download Plugin** to get **Totebot AI for WooCommerce** (`totebot-ai-for-woocommerce.zip`).
In your WordPress admin panel, go to **Plugins** → **Add New** → **Upload Plugin**, choose `totebot-ai-for-woocommerce.zip`, and click **Install Now**.
Click **Activate Plugin**. WooCommerce must be installed and active on your site.
Go to **Settings** → **Totebot AI** in your WordPress admin and enter your **Agent ID**. You'll find it on the WooCommerce integration page in your Totebot dashboard.
Tick **Enable Totebot Chat Widget** and click **Save**. The chat widget now appears on your store.
## What the agent can do
* **Search and recommend products** from your synced catalog, with prices, images, and availability.
* **Show product cards in chat** so customers can view details and jump to the product page.
* **Add products to the cart** directly from the conversation, so customers can keep shopping and check out without leaving the chat.
* **Look up orders** when you enable the order lookup tool on the integration page.
* **Attribute purchases** to conversations, so Analytics shows the revenue your agent generated.
## Product catalog
The **Product catalog** tab on the integration page lists every synced product. You can check sync status, trigger a re-sync, and open each product to see exactly what data the agent works with.